Your avatar can be customised by wearing clothing items from inventory or attaching 3D models to the skeleton. Items can be worn or removed by right clicking the inventory item and selecting 'Wear Item' or 'Remove Item' from the context menu.
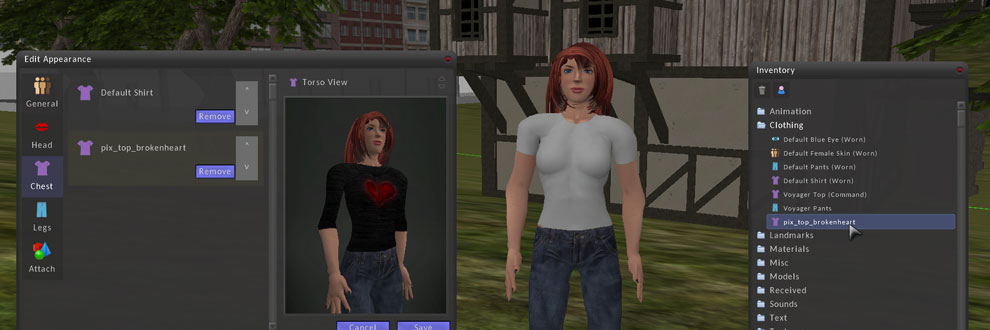
More detailed appearance settings can be accessed by right clicking your avatar and selecting 'Edit Appearance' from the Avatars context menu. This will open the Appearance Editor.
Appearance Editor
The appearance editor can be opened by selecting 'Avatar > Edit Appearance' from the top menu, or by right clicking your avatar and selecting 'Edit Appearance' from its context menu.
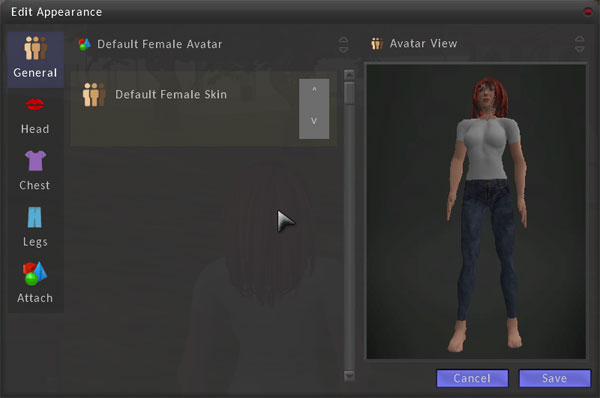
The tabs down the left hand side correspond to different parts of the avatar that can be customised. Each tab shows a list of inventory items worn and the layer order can be changed or items removed. Clothing items can be dragged from your inventory and dropped on the preview model to the right of the window. When the appearance is saved, all the clothing layers are automatically baked into four textures corresponding to the head, eyes, torso and legs of the avatar model. This means that even avatars with many layers do not increase load time or reduce rendering speed when rendered in the world.
Clothing Layers
The avatar model is broken up into four parts as mentioned earlier. The head, eyes, torso and legs. Clothing items in the inventory when worn will be applied to one of these parts depending on the inventory type. The following inventory items are available.
| Skin | The base texture for the avatar model. This links to 3 textures that represent the skin. An avatar must wear at leased one skin and all other layers are drawn on top. | |
 |
Head | Textures with alpha transparency can be applied to the head and used to create different makeup layers over the base skin textures. |
| Eye | The base eye texture. An avatar must wear at leased one eye inventory item. | |
| Torso | These layers are applied to the upper body and can be used to add tattoos to the base skin texture and multiple layers of shirts, jackets etc. | |
| Legs | As above but these are applied to the lower body. Used for pants, trousers etc |
Attachments
Models can be attached to the avatar at specific points on the skeleton. This allows for hair and jewellery among other things. For a model to be attached to the avatar it must have been created with the 'Avatar Attachment Modifier' applied. This prevents large models being worn and also discourages new players from attaching random objects to themselves in error. To attach a model from your inventory, right click the inventory item and select 'Attach To Avatar' from the context menu. Alternately inventory items can be dropped on the avatar preview to the right of the appearance editor.